I love the tent so much in The Great Outdoors quilt, that I'd thought I'd put together a video showing how I put the tent together using freezer paper.
The tent in the Great Outdoors quilt was Foundation Paper Pieced the traditional way. All the seams were stitched through the paper, which was fine.
Note: the pattern has been updated since making the video, switching the labeling of the E and F units. The multi-fabric unit F in the video is now unit E, and the new F is old background E. Though the order doesn't really matter, it just makes for a better looking unfinished block. This is the before, and the after.
Anyway, what I found was that for the large size fabric pieces in the F unit (now E), I had to use too many pins to hold it to the paper, which resulted in not only paper warping, but the fabric flopped all over the place.
Determined to continue using the traditional paper piecing method, I folded up a couple of pieces of tape and held the fabric to the paper that way. Certainly not the best idea, but it worked.
And I kicked myself for not printing out the tent pattern onto freezer paper, my favorite way of paper piecing.
Why do I love freezer paper for paper piecing projects? Because it holds the fabric pieces firmly in place, the seams can be pressed open if needed, and there is no paper to rip off the back of the block when finished. Three big wins in my world!
In the Great Outdoors pattern, the tent can be made using either method, though I recommend freezer paper. And that recommendation brought about the idea for making a video to see how it's done, as a reference for those who have the pattern. Of course, it can also be viewed to learn how to paper piece using freezer paper.
The video starts out using the freezer paper foundation piecing method, where pieces of fabric are added to a unit that contains three fabrics (unit now labeled E in the pattern). The sewing takes place next to the folder freezer paper seam line, not through the paper. (Also see the written tutorial, Freezer Paper Foundation Piecing)
And as the video goes along, the freezer paper seam allowances tend to get a bit in the way, and a switch to Freezer Paper Template Piecing would have worked better. In that method, the freezer paper seam allowances are removed before any fabric pieces are sewn, as seen in this example from another project.
In re-watching this video, I will say I need to shift the piece against the machine bed more to the left, as I caught the paper underneath several times. That's ok in this block, as it's not crucial in getting things lined up, but if I had a more precise block I was working on, it would be an issue.
Given that and all the folding back of paper seam allowances, the pieces go together to make a realistic tent. And as usual, there are tips and tricks along the way!
Enjoy watching the tent being created, and think about trying paper piecing with freezer paper, both as a foundation and as templates, on your next paper pieced project.
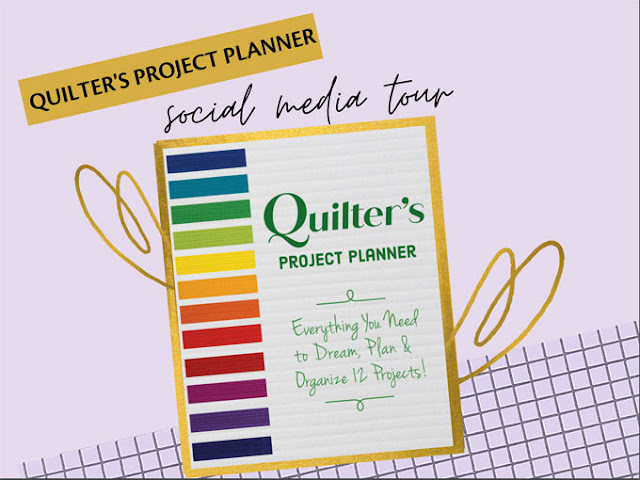
Welcome to my stop on C&T Publishing's Quilter's Project Planner tour!
New this year is the Quilter's Project Planner (affiliate link), a workbook full of a year's worth of helpful, convenient planning pages and tracking logs, plus spots to keep quilt contacts, and handy reference sheets - this project planner has it all!
As quilters, we get so tied up in multiple projects at once, that a project planner such as this will help to keep everything organized and on track.
Though the planner starts with January, one could begin using this workbook any time of year. Just start filling in important dates or events that are coming up during your year and what you want to accomplish.
Fill in that information in the 'My Year' section, both in the calendar area and under the action plans. I know I'd be filling those areas first with all the holidays, then blog hops, then any events coming up.
With a schedule taking shape, organizing the workload becomes a snap, helping to prepare for any busy months so those projects can get done on time.
There's also plenty of space for all the usual project details, plus an area for notes of any issues or lessons learned, followed by a page for placing inspirational ideas/fabric swatches, and a page of graph paper to draw out ideas.
Project planning takes up the bulk of the book, as it should, but the next section, 'Tracking Logs', is just as useful. Here's the place to list quilt giving and shipping information, quilts for charity, and my favorite, quilt alongs, bees, and mystery quilts. With all the blog hops I participate in, this section may not be big enough!
The last two sections of the Quilter's Project Planner workbook are devoted to keeping handy information right at your fingertips. The 'My Contacts' section has spaces for quilt shops, longarm quilters, machine repair shops, guilds, quilt friends, and online quilt friends. And the 'Reference' section is full of quilty math charts which are oh-so-helpful!
Want to get started planning out your quilting year? One lucky visitor will win a free copy of the Quilter's Project Planner, courtesy of C&T Publishing. The contest is open to US residents only, from now until Sept 17 - enter via the Rafflecopter form below. Winner will be announced Sept 23.